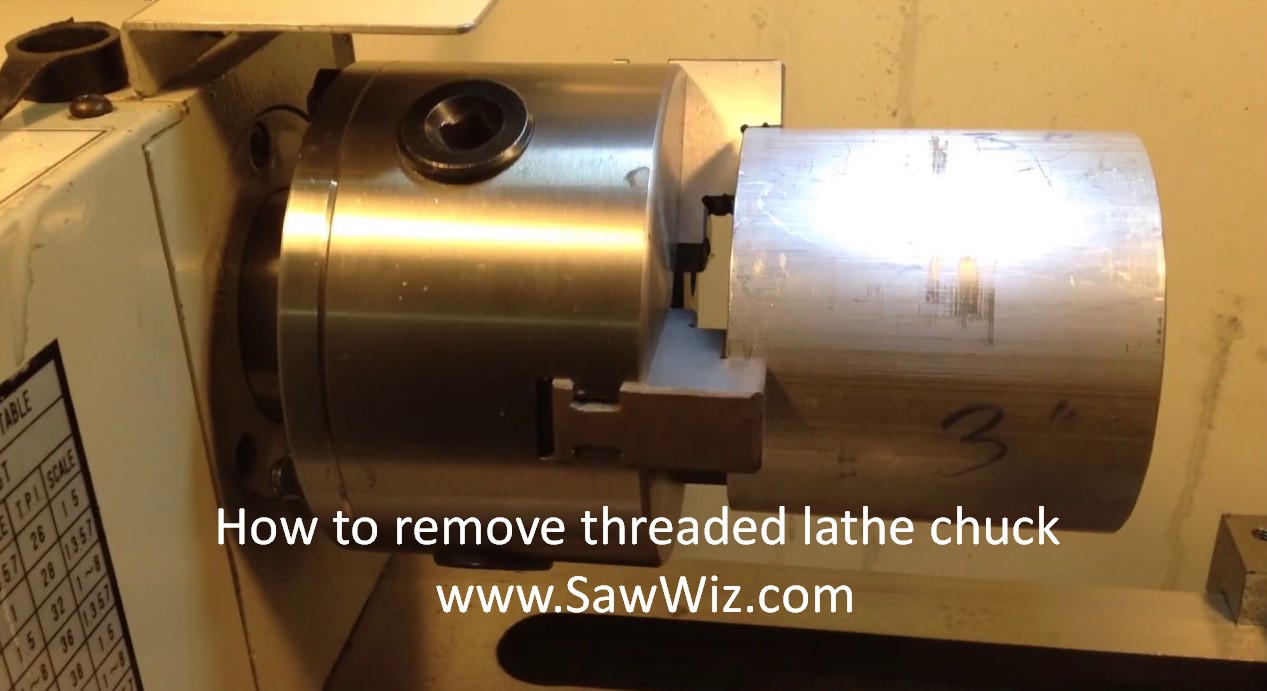
1. Step–by–Step Guide to Taking Off a Threaded Lathe Chuck
A. Safety Considerations and Tools Needed for the Process
Safety should be the primary concern when undertaking any process. When it comes to the process in question, a few safety considerations should be taken into account. First of all, the use of appropriate protective equipment is essential. This includes safety glasses, gloves, protective clothing, and a face mask or respirator.
Additionally, necessary tools should be checked to ensure they are up to the task and in good working condition. Furthermore, if any hazardous materials are used, they should be properly handled and stored by applicable regulations.
Finally, a proper workspace should be established to ensure the safety of those involved. This includes ensuring the area is well-lit, unobstructed, and free of tripping hazards. Additionally, all tools should be properly secured and out of reach of any bystanders. The process can be undertaken safely and efficiently by taking these safety considerations into account.
B. Preparing the Machine for Removal of the Chuck
Before removing the chuck from the machine, it is important to ensure it is properly prepared. The first step is to ensure that all parts of the machine are disconnected from any power source and that the power switch is off.
This is especially important if the chuck has been spinning at high speeds. Once the power has been disconnected, the next step is to remove any tools that may be attached to the chuck. This includes any cutting tools, drill bits, or other attachments. Once all tools have been removed, the next step is to use a wrench to loosen the chuck from the machine.
Once the chuck is loose, you can use a hoist or other lifting device to lift the chuck away from the machine carefully. Finally, it is important to inspect the chuck to make sure there are no cracks or other damage before reinstalling it. Following these steps will ensure that the chuck is properly removed from the machine and is ready to be reinstalled.
c. Removing the Chuck from the Lathe
Removing a chuck from a lathe is a relatively simple process that can be done with a few simple tools. First, the lathe must be disengaged from the power source, and the chuck needs to be locked using the chuck locking lever.
This lever is typically located on the side of the chuck. Once the lever is engaged, a wrench must be inserted into the chuck and rotated in a counterclockwise motion. If a wrench does not fit into the chuck, an adjustable wrench may be used.
As the chuck is rotated, it will loosen from the spindle and can eventually be removed. It is important to note that a chuck should never be forced, as this can cause damage to the spindle.
After the chuck is removed, it is important to inspect the spindle and chuck for any signs of damage or wear. If any damage is found, the chuck should be replaced, and the spindle should be inspected.
d. Cleaning and Inspecting the Chuck
Cleaning and inspecting a chuck is important in maintaining a safe and efficient working environment. To begin with, it is important to ensure that the chuck is properly secured to the machine before any work is done.
Once the chuck is securely in place, carefully remove any dirt or debris from the surface and between the jaws. After this, it is important to inspect the chuck for any signs of wear or damage. Look for cracks, chips, or other damage that could indicate a need for replacement.
If these signs are present, replace the chuck before continuing further work. If the chuck appears in good condition, lubricate the moving parts and re-secure it to the machine. Finally, take a few test runs to ensure the chuck is working properly. These steps will ensure that the chuck is clean, safe, and working properly.
2 . Troubleshooting Common Issues When Removing a Threaded Lathe Chuck
When removing a threaded lathe chuck, common issues include difficulty threading the chuck, not engaging properly, or the chuck not coming off. To troubleshoot these issues, the following steps should be followed:
1. Check the threading of the chuck. If the threads are not aligned properly, the chuck may not engage properly. To fix this issue, use a screwdriver or other tool to ensure that the threads are aligned correctly.
2. Ensure that the chuck is properly engaged. If the chuck is not properly engaged, the chuck may not come off. To fix this issue, adjust the chuck to engage properly.
3. Use a wrench or other tool to loosen the chuck. If the chuck is still not coming off, try using a wrench to loosen the chuck. If the chuck is still not coming off, you may need to use a hammer to tap the chuck loose.
4. Replace the lathe chuck. If all of the above steps have been followed and the chuck is still not coming off, it may be necessary to replace it. Make sure to use the same type of chuck that was originally installed.
Following these steps, most issues that arise when removing a threaded lathe chuck can be easily resolved.
3. Troubleshooting Common Issues When Removing a Threaded Lathe Chuck
a. Chuck Not Coming Off Easily
b. Unusual Sounds or Vibrations During Removal Process
Ensure that the chuck is firmly secured to the spindle and that the spindle is securely mounted to the lathe. If the chuck is properly secured but the vibrations persist, it could indicate a worn or damaged spindle or chuck. Inspect the spindle for wear and damage, and replace it if necessary.
c. Improperly Threaded Chuck
Tips and Tricks for Easier Removal of a Threaded Lathe Chuck
Conclusion: Benefits of Removing a Threaded Lathe Chuck
Removing a threaded lathe chuck can also help reduce the risk of damage to the lathe or workpiece and reduce the overall time needed to complete a machining job. Finally, removing a threaded lathe chuck can also help to ensure that the chuck is properly installed and secured.